
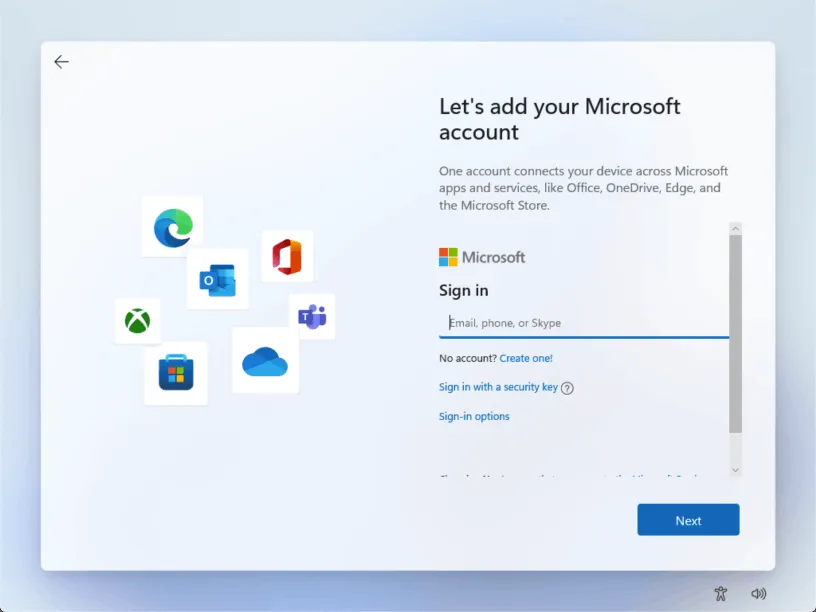
Windows 11 steers you towards signing in with a Microsoft account, both during setup and afterwards. That suits some people, but many small businesses prefer local accounts on shared computers, front-desk PCs and machines that do not need OneDrive or the Microsoft Store.
In June 2024 Microsoft removed the instructions for switching to a local account from its Windows support pages, as Tom’s Hardware reported at the time, and it has since been closing the shortcuts people used during setup. Local accounts still work, though. Here is how to use one, and when a different type of account is the better choice.
Microsoft, local or work account: what is the difference?
- Microsoft account: a personal account, such as an Outlook.com address, that syncs settings, OneDrive files and Store purchases across your devices.
- Local account: exists only on that PC. Nothing syncs, and the password is stored on the computer itself.
- Work or school account: a Microsoft 365 business account managed by your organization, with central security settings and password resets.
Option 1: Switch to a local account after setup
If Windows 11 is already set up with a Microsoft account, you can change it in Settings:
- Open Settings, select Accounts, then Your info.
- Under Account settings, select Sign in with a local account instead.
- Confirm your identity with your current PIN or password.
- Enter a user name, password and password hint for the new local account.
- Select Sign out and finish, then sign back in with the local account.
Before you switch: make sure your OneDrive files are backed up. If the PC uses device encryption or BitLocker, save the recovery key somewhere safe first, because some PCs store that key in the Microsoft account.
Option 2: Set up a new PC with a local account using Rufus
For a fresh installation, the free tool Rufus can create Windows 11 installation media that skips the Microsoft account step:
- Download the Windows 11 disk image (ISO) from Microsoft’s website.
- Open Rufus, choose your USB drive and select the ISO file.
- Select Start. When the Windows User Experience box appears, tick the option to remove the requirement for an online Microsoft account, and enter a name for the local account.
- Start the PC from the USB drive and install Windows as usual.
Rufus erases the USB drive, and a fresh installation replaces what is on the PC, so back up any files first.
What about the old setup shortcuts?
Earlier releases of Windows 11 let you skip the Microsoft account by disconnecting from the internet during setup, or by running the OOBE\BYPASSNRO command. Microsoft has been removing these shortcuts from newer releases, so they may not work on a current installation. Switching after setup, or installing with Rufus, is more dependable.
Which account should a business PC use?
For computers your staff use every day, a work account through Microsoft 365 Business is usually the best choice: you can enforce security settings, reset passwords and, with the right plan, lock or wipe a lost laptop. A local account makes sense for standalone machines such as shared front-desk PCs, point-of-sale terminals or equipment that should not sync to the cloud.
Not sure which setup is right for your team? Our managed IT services cover Windows setup, Microsoft 365 accounts and device security for businesses in Surrey and Metro Vancouver. Contact us or call 604-375-2629.